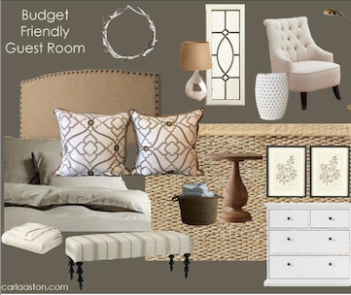
I’m always on the hunt for inspiration, and I have a vision in my head as to how I want the master bedroom to look like. I came across this “Inspiration Room,” and have begun to gather items that compliment this room. However, I am adding my own little twist and creativity- especially with my furniture, which has been Renewed & Reloved… I will show you all that later!
In a previous post, I had mentioned that my mother and I were walking around Jordans Furniture. I came across these GORGEOUS lamps. I had just purchased a king bed frame with upholstery nail heads along the top. When I saw this lamp I almost grabbed it right there and ran to the register, but saw the price and I HAULTED!!!
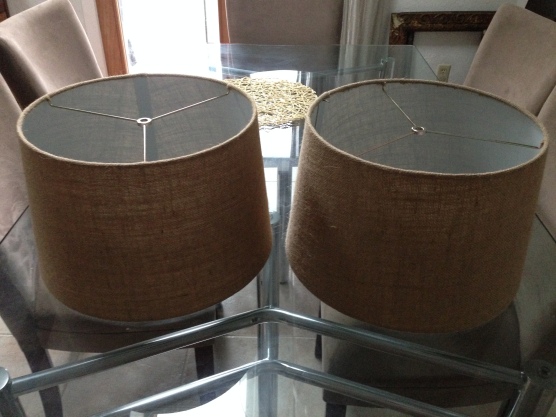
This lamp is beautiful and all that- but they were priced at $359 each- seriously? No way…. so I decided to make my own, and I was immediately on the hunt for burlap shades, the bases would be easy to find, and they didn’t have to be this exactly. My friend Liza and I headed to Home Goods- which I have to say is either a hit or miss… but I was pleasantly surprised when I was checking out at the register and saw two lamps that had been returned… They were rustic, romantic, AND HAD BURLAP ROUND SHADES! Here are the top of the shades:
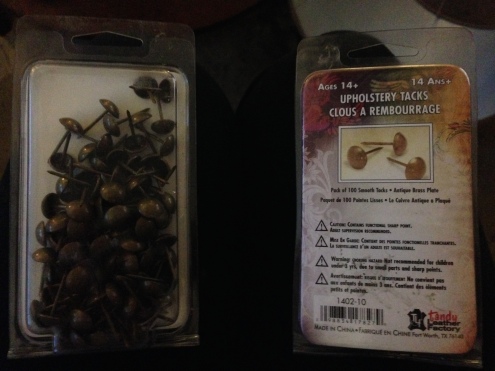
Ok, lamps and shades check… now I needed to order upholstery nails. I went on Amazon.com and purchased upholstery nails that match the upholstery nails that run along the headboard of the king bed.
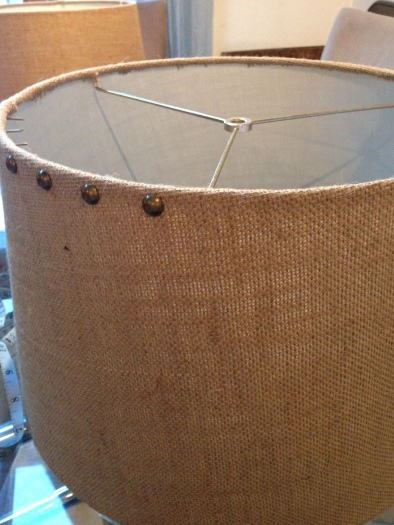
Now, for those of you who know me, known that I am NOT very good at math, so I was nervous about my measurements, but shockingly it ended up perfect! I used a flexible measuring tape to measure the circumference of the top and the bottom, because the bottom was wider. The tacks are 1/2″, and I wanted them to be spaced at 1″ so I took the circumference and divided it by 1.5″ and figured out how many I would need. Pretty smart, I know.
So I got to it! I started in the back, along the seam of the shade, because I wanted the sides and front to be perfect, and I knew the back would be off about 3/8″ (something you would barely notice, but I knew I would….). The process was fairly easy. You just need to make sure that you’re keeping an eye out to make sure they stay in line with each other.
I have to say the process was easy enough, and it only took me an hour to do both shades. They came out really great!
So here is the break down of how much I saved, I saved a total of $595.31 by doing it myself!
BOO-YAH! I rocked out!!!
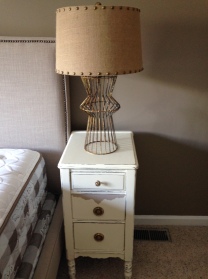
Here are the lamps all put together with their bases:





Your math skills are impressive (I have few) and then top it off with a good dose of creative? Amazing. And love how you saved a bejillion dollars! How do they look on the bases?
LikeLike
I will post a picture later this evening!!!! Thank you so much for taking the time to read and commenting!
LikeLike
I posted pictures of the lamps!
LikeLike
Love what you did with that shade!!
LikeLike
Thank you so much! It was quite easy actually!
LikeLike